
Payday 2 Shadowraid Heist Crowbar Locations Guide
I have been searching the net recently for a decent guide on where to find the Crowbars on the Shadowraid Heist on Payday 2 but unfortunately there are a lot of unclear and unhelpful posts. I have created this guide to be as specific and clear about the locations that the Crowbars can spawn on the Shadowraid Heist so other gamers, like myself, won't have to jump through hoops for clear instructions on their locations. Please note that the Crowbars don't always spawn in every available position every time you play the Heist and may require you to search several spots before finding one.
Crowbar Location #1
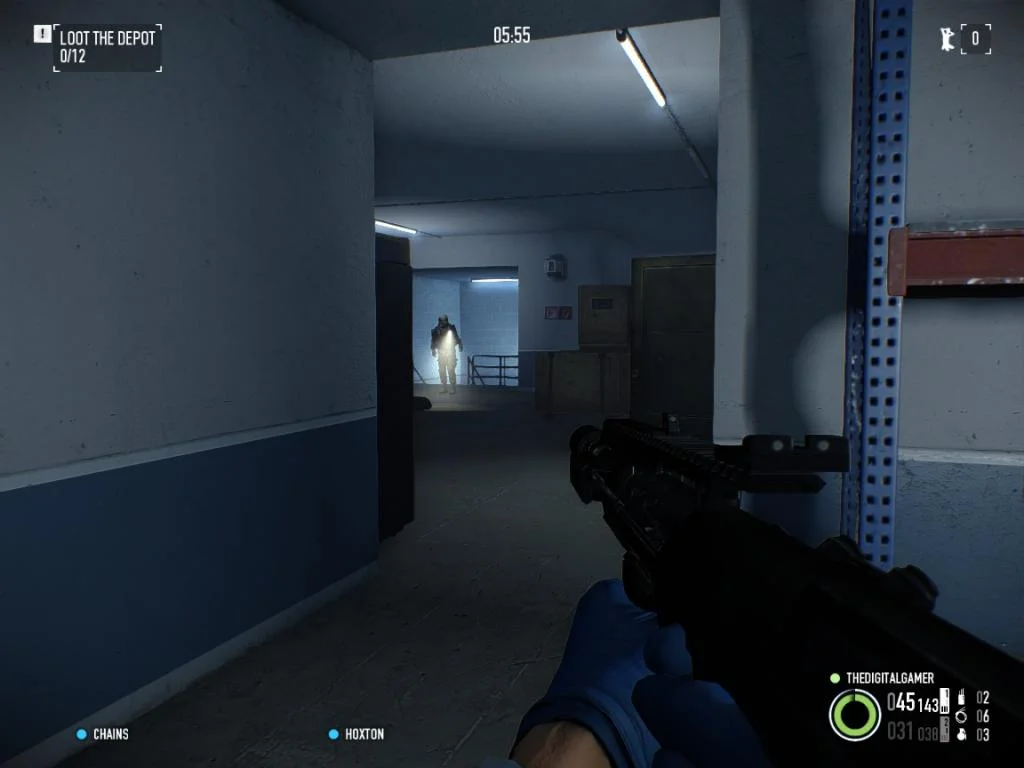
The first Crowbar location is the easiest to come across as it tends to be down the route that the majority of players attempting this mission tend to take. Firstly you need to enter the sewers from the manhole located to the left of the main gate near where you spawn. You then need to work your way through the barriers using the thermal paste at your disposal until you arrive at the base of the ladder that leads to the main building.
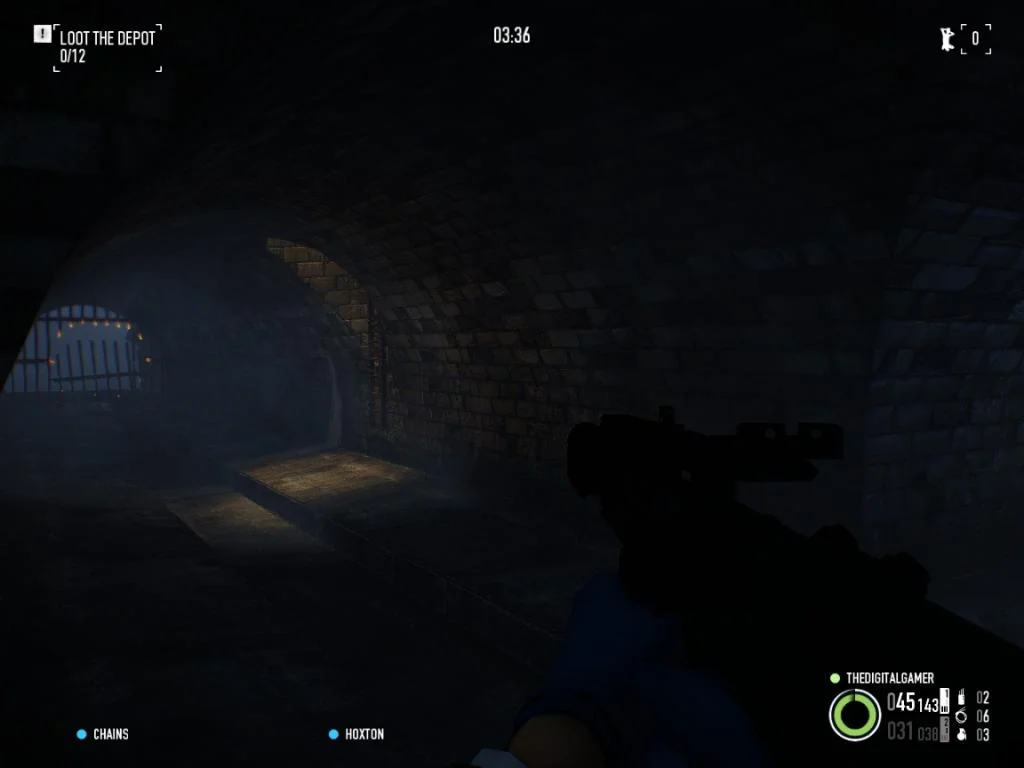
Once you can see the ladder (see picture above for reference) then all you need to do is turn to the right and you will see the Crowbar resting on the ground with a ray of light shining down on it.
Crowbar Location #2
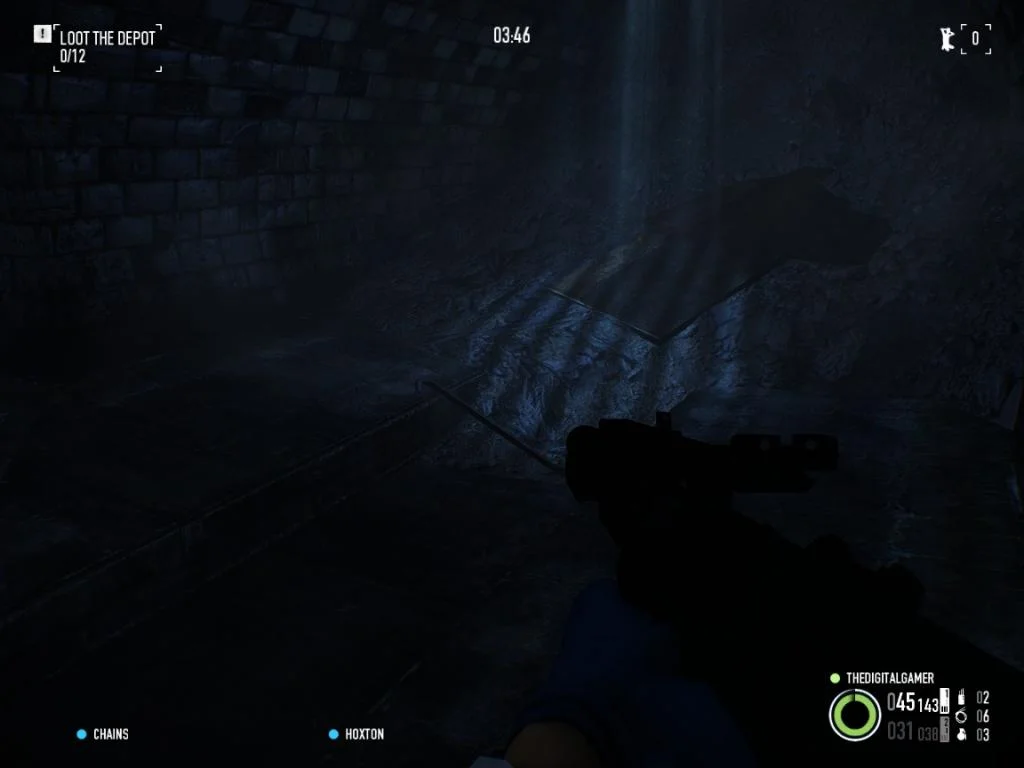
Next up is another easily accessible Crowbar located down the far left hand side of the complex. As before, from the spawn head towards the sewers, however as you reach the manhole walk straight past and then down the side of the complex. Be careful down this side of the building as you can get guards and cameras depending on the difficulty that you are playing. Go down the stairs on your left and then through the fence. You should now be standing with water on your left hand side and the complex on your right.
Keep walking forward until you see the frame that is pictured above, you shouldn't miss it as long as you keep the water on your left. Once you see this structure, continue to hug the building on your right and as you turn towards the skip you will see the crowbar resting against the wall. This can be difficult to spot due to the bush but as you get closer it shouldn't be too hard to see.

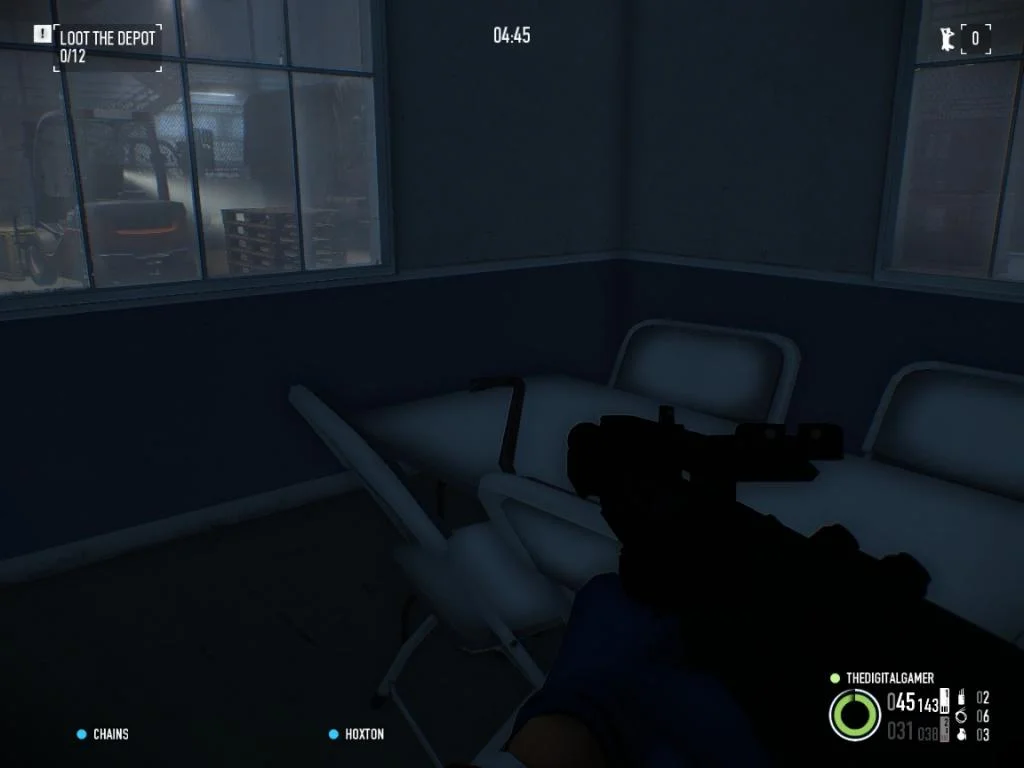
Crowbar Location #3
For the next Crowbar you must head up the ladder from the sewers into the main building. This is a common entry point for this mission as its easy to gather bags and throw them down the manhole for easy transportation back to the van. Once in this room you need to head to the room that is directly behind the locker room. To get here, walk towards the yellow caged area and when you see the drinks machine the door you need is directly after there.
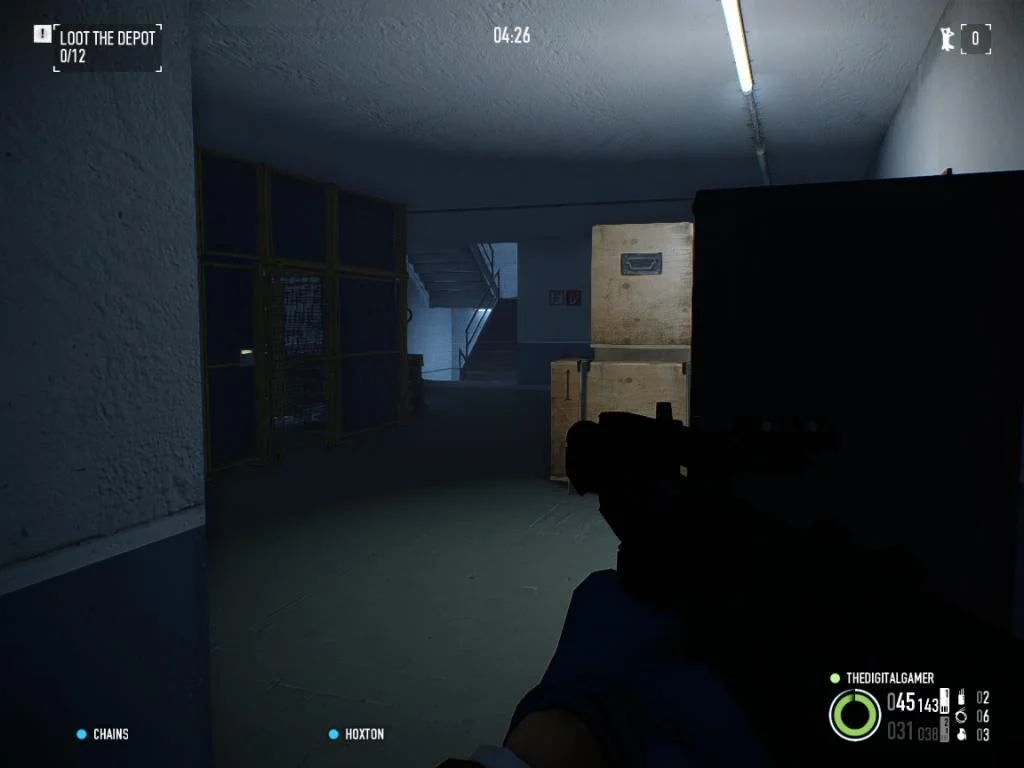
As you can see from the image above the stairs are at the opposite end of the room you are looking for. The best point of reference is the drinks machine that's directly next to the door you need to access. You know you are in the correct room as it has a table and chairs inside, sort of like a canteen area. Once in the room the Crowbar will just be lying on the table to be collected.
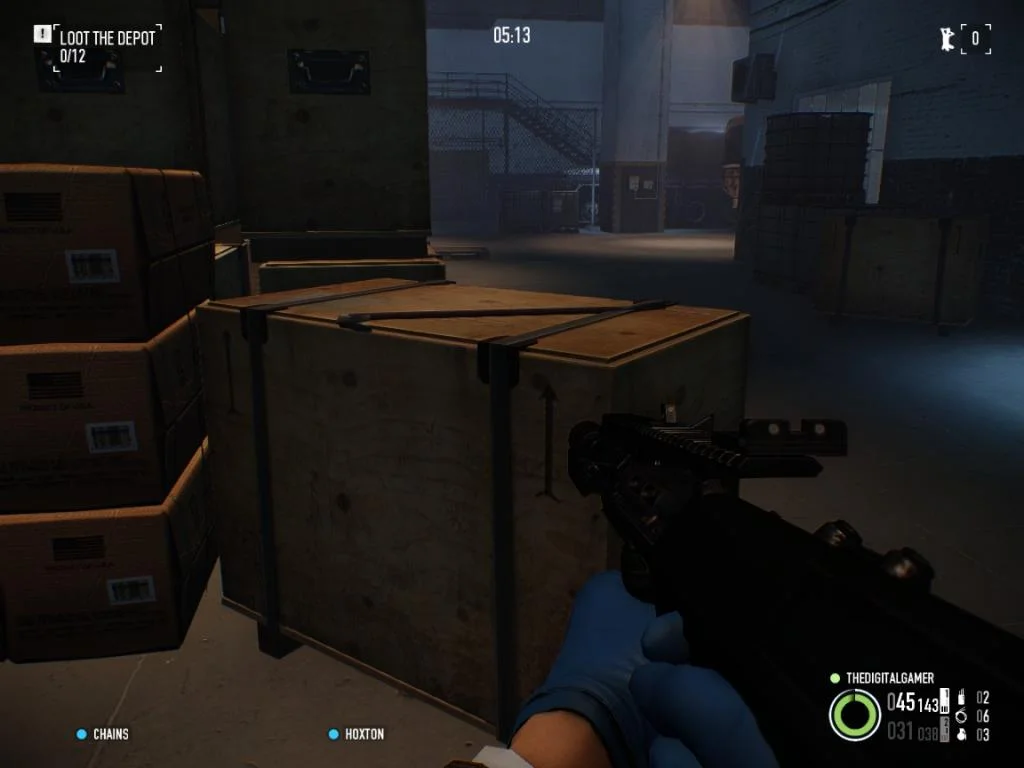
Crowbar Location #4
Next up we are heading into the main warehouse itself. This can be a very tricky area to navigate on the higher difficulties as there are a lot of patrols through here as well as cameras and guards that can see you from upstairs! Easiest way to find this Crowbar is to directly face the front of the safe then do a 90 degree turn to your right. If you walk straight forward you will see the Crowbar resting on the crate. Just remember to be cautious of the guards!
Crowbar Location #5
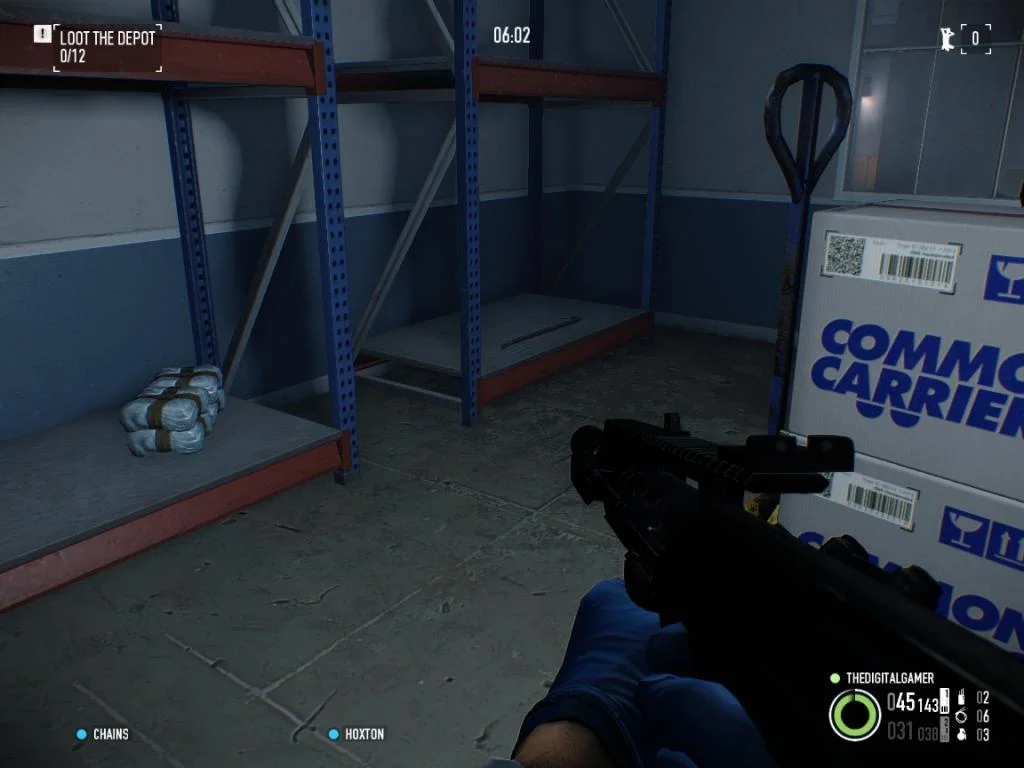
Ok so now we are moving onto a couple of the more uncommonly known Crowbar locations. To find the next one the easiest point of reference for you to use is the roof and enter through the door pictured below.
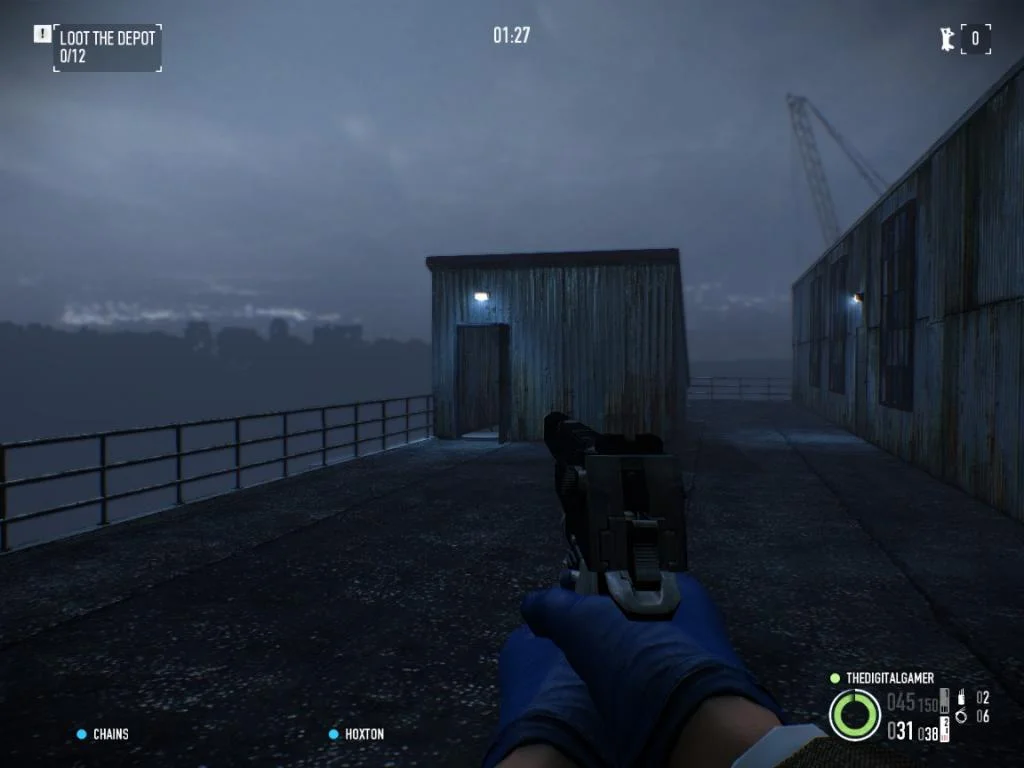
The easiest way to find that door is to look for the satellite dish. When standing near the dish you can easily see the doorway that you need to enter. As you go through that door you will have to go down a flight of stairs and then you will enter a room that has racking along the walls. When you enter this room you need to do a full 180 degree turn and you will see the crowbar leaning against a box next to more racking.
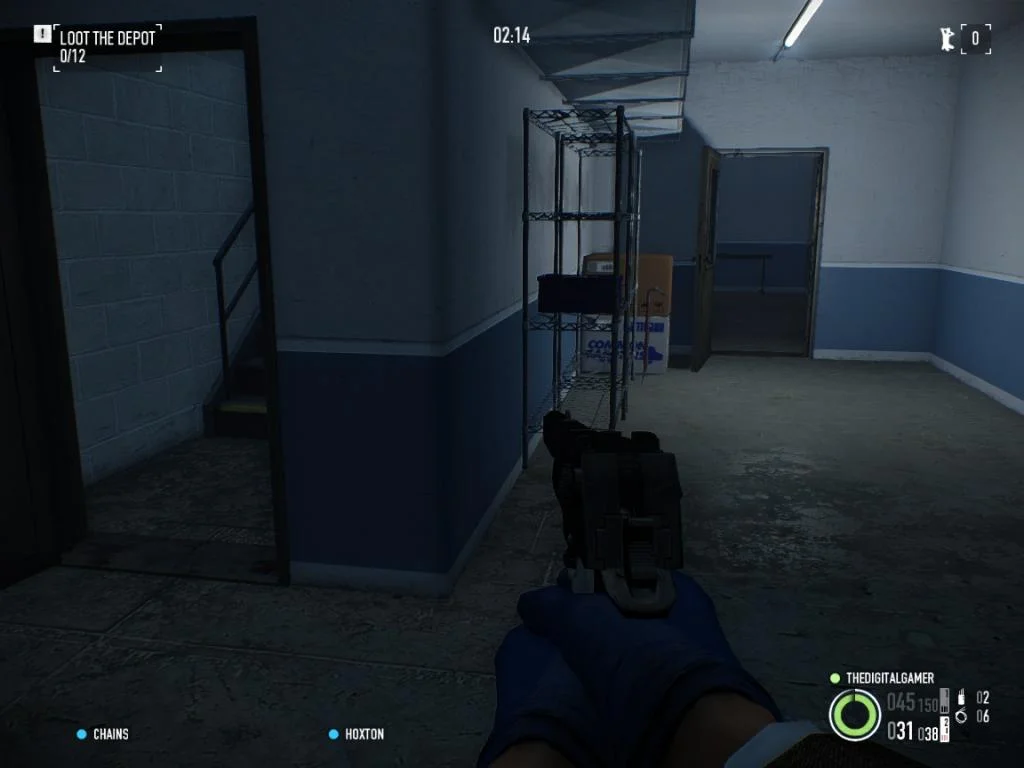
Crowbar Location #6
To find this one, again we want to start from the roof for the easiest point of reference. As before, go through the same door that's located near the satellite dish and then head down the stairs. When you get into the room with the racking, this time you want to head straight forward and through the door into the room that has a variety of boxes. When in this room head to the room that faces almost directly opposite the stairs as shown in the picture below.
Once in here you will see that here is some racking along the wall on your left hand side as you enter. On one of the shelves you will see the Crowbar.
Crowbar Location #7
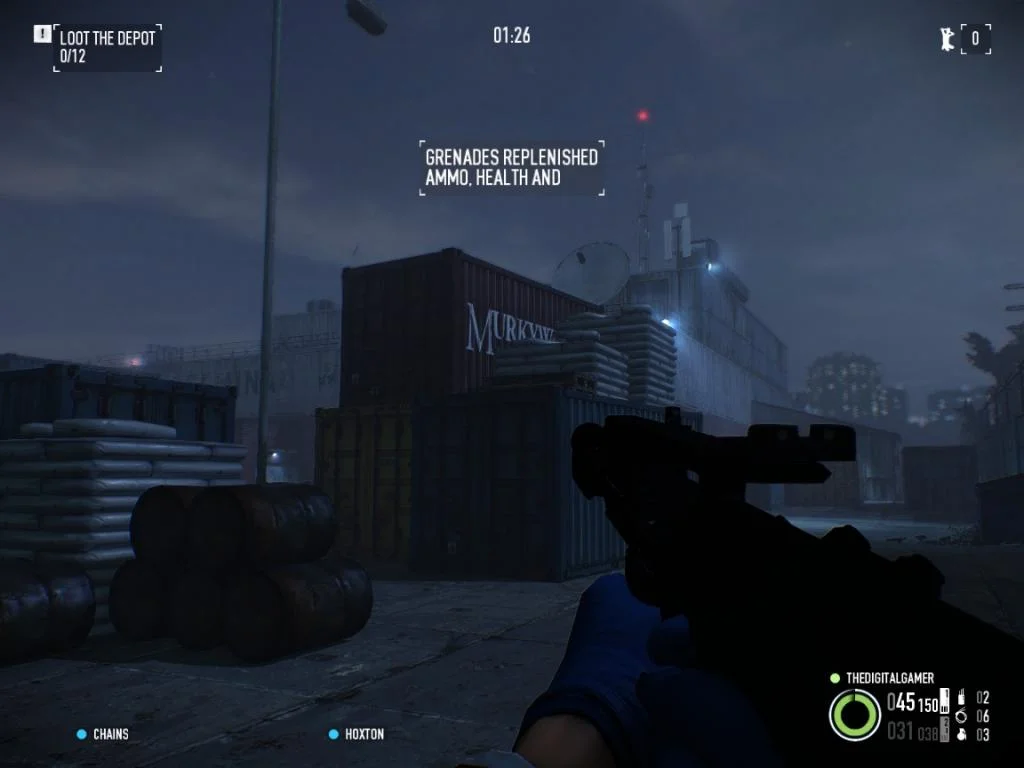
The final Crowbar location in this guide is located outside where all the containers are stored. There are a variety of routes you can take to reach this location, but ultimately, you want to head to the far corner where you see a red container on top of yellow and blue containers.
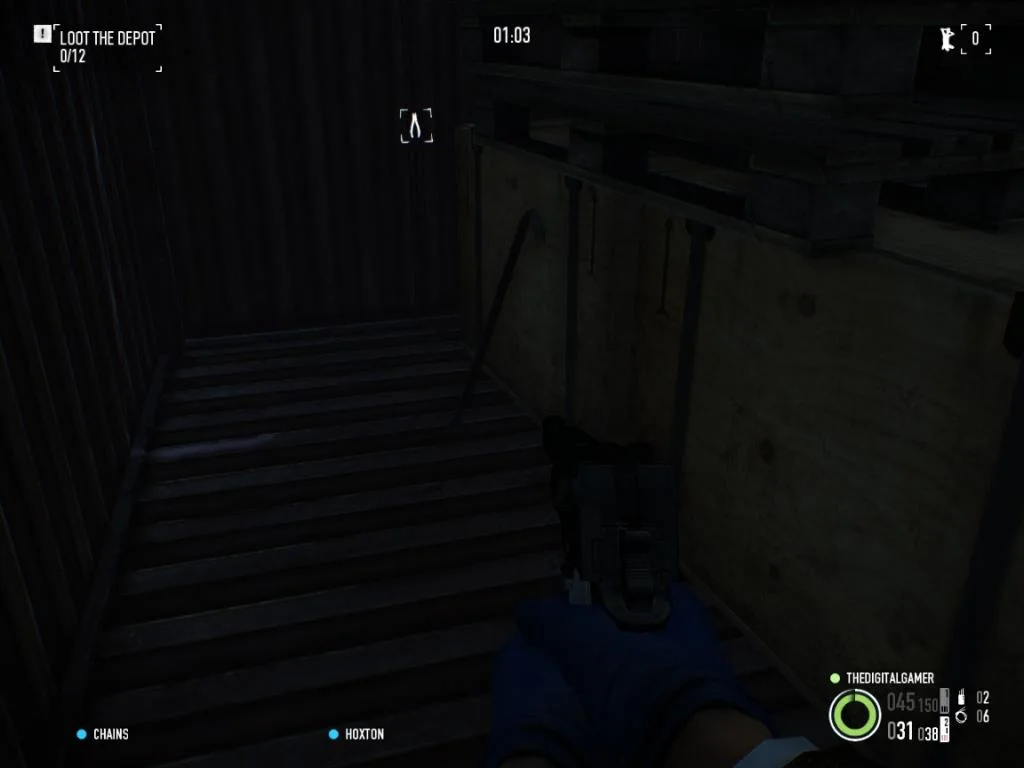
Once you have located the destination crate, you now need to open it. To do so you may want to watch the video guide to see the technique on getting up to and opening the crate, however I will do my best to describe it here. Firstly you need to use the barrels shown on the left of the picture above to get onto the first blue container. Once you have managed to get onto here you will need to jump across to the blue container where the red container is then walk to the edge to open the door. To get inside you simply repeat the process you just followed, instead of jumping to the blue container though just jump straight into the open doors of the red container and the crowbar will be there leaning against some boxes.
So that's the end of the guide guys, hopefully you all found it useful. If you have any questions or would like to discuss anything shown in the guide please don't hesitate to get in touch with me on Twitter @DigitalGamerUK or leave a comment on the Youtube video. Thanks for reading!