
Cleaning, Repair and Care of Retro Game Cartridges
For those who listen to our podcast, you know that Erik loves to go to yard sales to find great deals on great games. Recently he found someone selling a pile of Gameboy and Gameboy Color games for $.50 each. The only problem was they had no idea if they all worked. After buying all 9 of them he brought them home to find only 2 or 3 worked and one had a dead battery. After having a conversation about how easy it was to clean them he decided to mail them all to me and have me clean them since he didn't have everything to do it himself. Now when I say clean them I don't take a Q-Tip with some alcohol on it and clean them, I completely break the carts down and clean them fully inside and out. A clean cart is a happy cart.
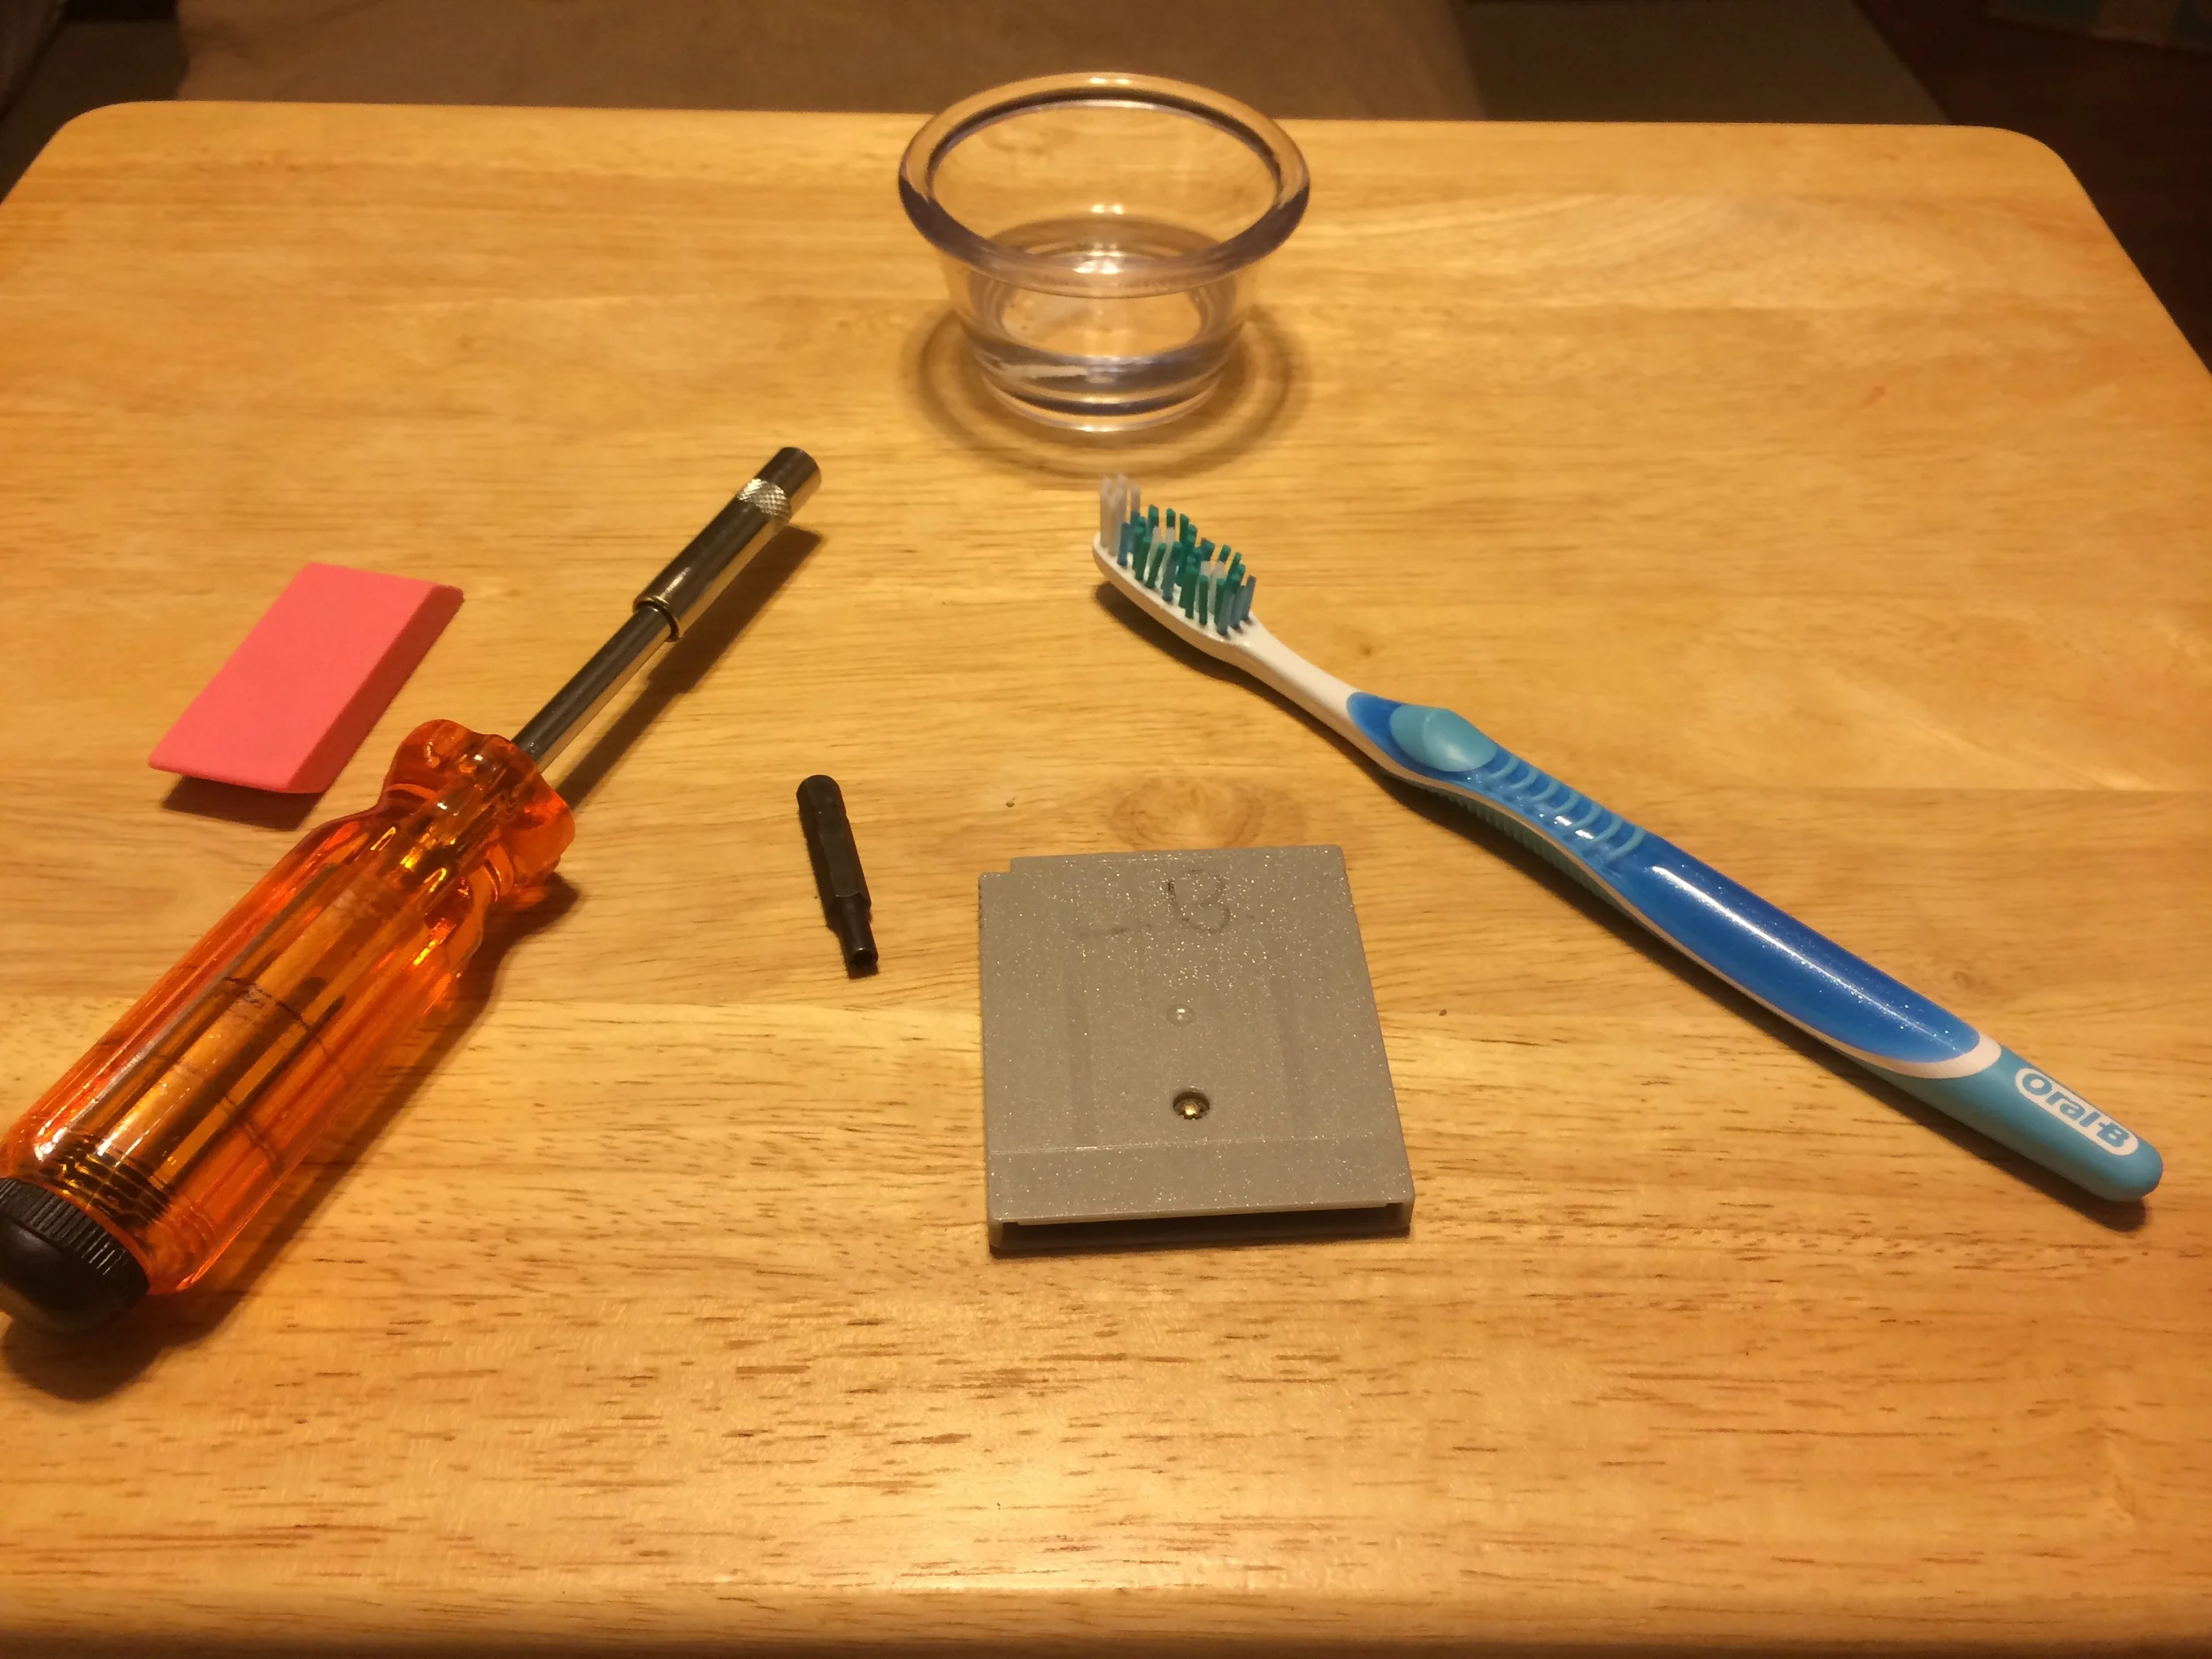

I know there are a ton of people out there that do this and there are a ton of different things and ways people clean their games. I want to start off by saying this is the method I have used for 10+ years and I have always brought games back to life. There are a few way out there that I just can not recommend. Rubbing alcohol, even diluted with water. My problem with that it still has water in it, which is bad. Brasso is another product I have heard people use. It is brass polish, it really doesn't clean it just makes things shine. It will not remove corrosion and will make it worse. Also if you use too much of it it will remove the copper of the boards and it will ruin pins in your system. I also do not recommend Windex, WD40, or Magic Erasers. There are three things I use to clean carts. Denatured Alcohol, a brush or soft toothbrush and a common eraser. Most people have never heard of denatured alcohol but for many years I was a cell phone repair tech for Sprint and we used it to clean phone that had corrosion and carbon build up in charging ports with great success. Be warned, it is highly flammable and poisonous, keep away for children and open flames.


One thing you will want to buy is a Steel 3.8mm Security Bit for removing the screws in the carts. I recommend the steel ones that are silver, they do not tear up the screws. As you can see to the right I have taken apart Pokemon Blue that Erik sent that was not working. There was clearly something spilled on the game. There is heavy corrosion on the front at the top by the battery and on the back of the chip. So much so that is stuck to the back housing of the cartridge. With so much heavy corrosion the toothbrush is needed. I dipped the toothbrush into the denatured alcohol and lightly scrubbed the entire cartridge from and back. What make denatured alcohol the best is it will evaporate almost instantly and leave no residue. I like to lightly blow on the chip while scrubbing, this helps with the evaporation. Next I take the back housing and wash it in warm soapy water and clean all the corrosion off it. I do take a damp wash cloth and clean the from housing being careful not to get the label wet. Then as the housing is drying I take my eraser and clean the carbon build up off the contacts. I use a little presser but not too much to damage the cart.


Erik also sent a copy of Pokemon Silver that was working but would not save the game. I decided to clean the game first before replacing battery. Once I opened the game I noticed there was corrosion all over the back of the game. Once again someone had spilled something on the cartridge. This on look like Coke as you can see in the picture at the top there is some brown sticky substance. Also on the back of the housing someone had used a magic marker to write their initials on it. I use the denatured alcohol to remove this as well on all my carts. Using the same method as above I complete cleaned the game but this time I also removed the battery and replaced it. For something like this you need a simple soldering iron you can get at any hardware store or hobby shop, the batteries can be purchased from Amazon or eBay. I won't go into much detail but I will say it is a very simple thing to do and does not take much soldering skill but if you have never used a iron and are not comfortable using one do not do this part yourself. You can destroy a game very easily or hurt yourself. Also keep in mind that some games use different batteries. For Silver, it used a CR2025, where as some of the others used a CR1616. The way to tell is on the top of the chip where the battery is located it will have printed what battery is needed.


Many of the other games he sent had corrosion or heavy carbon build up and each of them I cleaned using the method. I am happy to say that each game now works as good as new, even the Pokemon Blue that was so heavily corroded. To clean every game and replace two batteries only took four hours or less. This is what I do every time I bring home a new game from NES to N64. I never risk damaging my systems without first cleaning my games. Many of your nicer local store that do repairs will clean their games before placing them on the shelf but it does not hurt to check them yourself before you put them in your console. I have included to the right pictures of both Pokemon games cleaned so you can see the finished product. I was so proud of Blue that I have kept it for my own collection. I know everyone has their own method and may not agree with mine but I have used it for many years with perfect results. I hope you find this article interesting and helpful. It's not hard to do and is worth the time it takes. If you have any questions feel free to leave a comment below or email me john.meadows@the-gamers-lounge.com. I'm happy to answer any questions I can. Also be sure to subscribe to our weekly podcast where we talk gaming news along with our monthly retro edition.